
2025 is upon it, and with the new year come new design choices and trendy colour palettes.
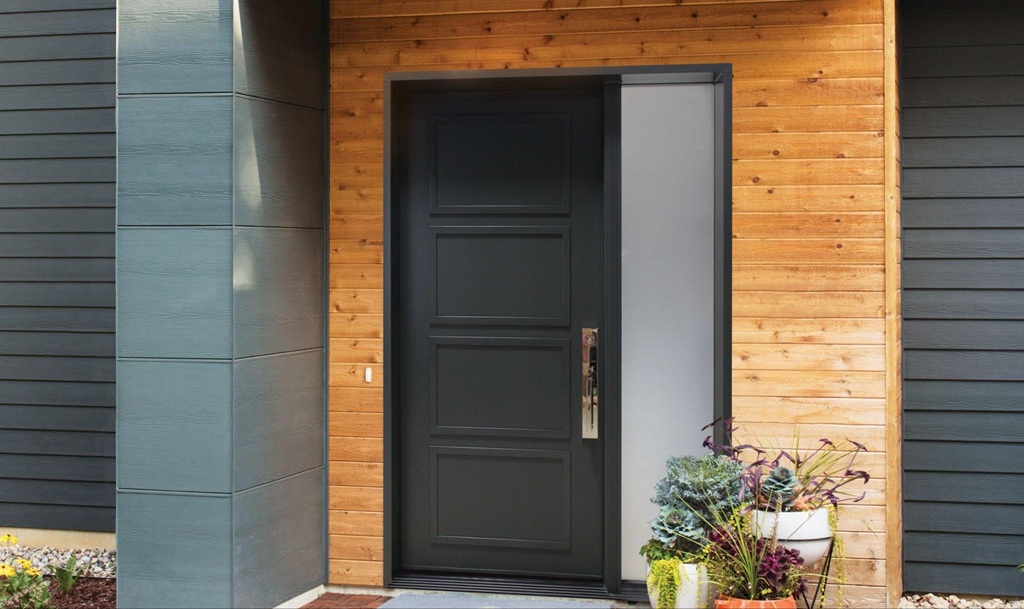
This year’s colour trends are in brown and purple ranges. Whether it’s called Cinnamon Slate, Mocha Mousse, or Purple Basil, if you like to keep up with the latest design trends, then perhaps it is time to give your door a colour update! Repainting an exterior door is one of the easiest and most cost-effective ways to enhance your curb appeal. Whether your door is made of wood, fiberglass, or metal, the process of repainting is relatively simple—if done properly. Here’s a step-by-step guide to ensure a smooth and durable finish.
Why Repaint Your Exterior Door?
Before diving into the how-to, let’s briefly touch on why repainting your exterior door is important:
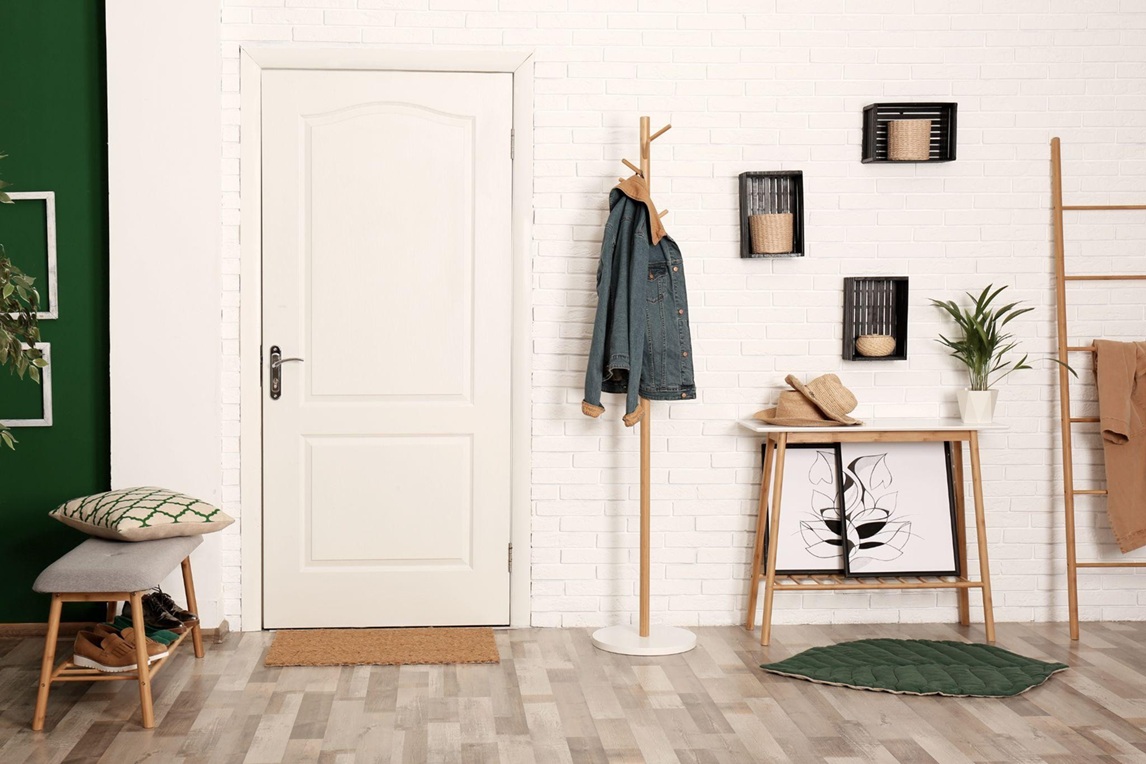
- Aesthetic Appeal: A fresh coat of paint can instantly brighten up your entryway and complement your home’s exterior color scheme.
- Protection: The paint on your door acts as a barrier, protecting it from the elements, including sun, rain, and snow, that can cause damage over time.
- Durability: Repainting can help extend the life of your door by preventing rot, rust, or fading.
Materials
To get started, gather these materials:
- Paint (exterior-grade, suitable for the door material)
- Primer (if required for your door type)
- Paintbrushes (angled for edges, a flat one for large areas)
- Rollers (optional, for flat areas)
- Painter’s tape
- Drop cloth or plastic sheeting
- Sandpaper (medium and fine grit)
- Cleaning solution (mild detergent or TSP)
- Rags or sponges
- Putty knife (for repairing cracks or holes)
Step-by-Step Guide to Repainting Your Exterior Door
Step 1: Remove the Door (Optional but Recommended)
While it’s not strictly necessary, removing the door from its hinges gives you a better opportunity to paint it thoroughly. If you can, take the door off and lay it flat on sawhorses or a sturdy surface. This prevents drips and allows you to reach all sides.
Step 2: Clean the Door
Before you begin sanding or painting, it’s essential to clean the door thoroughly. Use a mild detergent solution or trisodium phosphate (TSP) to remove dirt, grime, and old paint residues. A clean surface helps the new paint adhere better. Better yet, look to your door manufacturer for the best advice on cleaning its surface.
Step 3: Sand the Surface
If the door has a rough or worn finish, lightly sand it with medium-grit sandpaper. For smooth finishes, a finer grit paper will suffice. Sanding ensures the new paint adheres properly and helps smooth out any imperfections like chips or scratches. If the door is made of wood and has cracks or holes, use wood filler to patch them up and then sand the filled areas.
Step 4: Apply Primer
Priming is especially important if you’re painting over a dark color with a lighter shade or if the door has significant wear. It creates a smooth surface for the paint to adhere to, improves coverage, and can enhance the durability of the paint. Use a primer suitable for your door’s material (wood, metal, or fiberglass). Apply it evenly and let it dry according to the manufacturer’s instructions.
Step 5: Paint the Door
Once the primer is dry, it’s time to apply the paint. Choose a high-quality exterior paint in the color and finish you prefer. Acrylic latex paints are commonly used for exterior doors due to their durability and fast drying time.
- For wood doors: Use a paintbrush to apply a smooth, even coat, starting from the edges and working your way in. You may need two or more coats depending on the color change and the door’s surface.
- For metal doors: If the door is metal, make sure to use a rust-inhibiting primer and paint to prevent future corrosion.
- For fiberglass doors: Use a paint designed specifically for fiberglass to ensure the best adhesion and longevity.
Step 6: Let the First Coat Dry
Allow the first coat of paint to dry fully. This usually takes several hours, but it’s important to follow the manufacturer’s drying time instructions. Avoid rushing the process as applying a second coat on a still-wet first coat can lead to streaks or uneven coverage.
Step 7: Apply the Second Coat
After the first coat is dry, apply a second coat for even coverage and a more durable finish. Take your time and be thorough, especially around edges and areas that are prone to wear.
Step 8: Dry (and Reinstall)
Once you’ve applied the final coat, let the door dry completely. This can take anywhere from 24 to 48 hours depending on the type of paint and weather conditions. Once dry, reinstall the door onto its hinges and enjoy your refreshed entryway!
Additional Tips for a Professional Finish
- Weather Conditions: Avoid painting in extreme temperatures or direct sunlight. The ideal temperature is between 50-85°F (10-30°C). If it’s too hot or cold, the paint may not adhere correctly.
- Use Quality Brushes and Rollers: Good tools can make a significant difference in the final result. Invest in a high-quality brush or roller that’s designed for the type of paint you’re using.
- Consider the Finish: Glossy finishes are great for doors because they are easier to clean and more durable, but they also highlight imperfections. Satin or semi-gloss finishes are good alternatives for a balance of durability and appearance.
- Touch-ups: Keep some leftover paint for future touch-ups. This will help maintain the door’s look and durability over time.
Refresh your home’s curb appeal with Arcana Windows & Doors’ expert guidance and premium products. Contact Us to get started today!